Devil's Punchbowl: A Weekend with the Lensbaby Twist 60

Last month, some friends and I rented a 30' camper van and drove to an area in the Angeles National Forest known as Devil's Punchbowl.

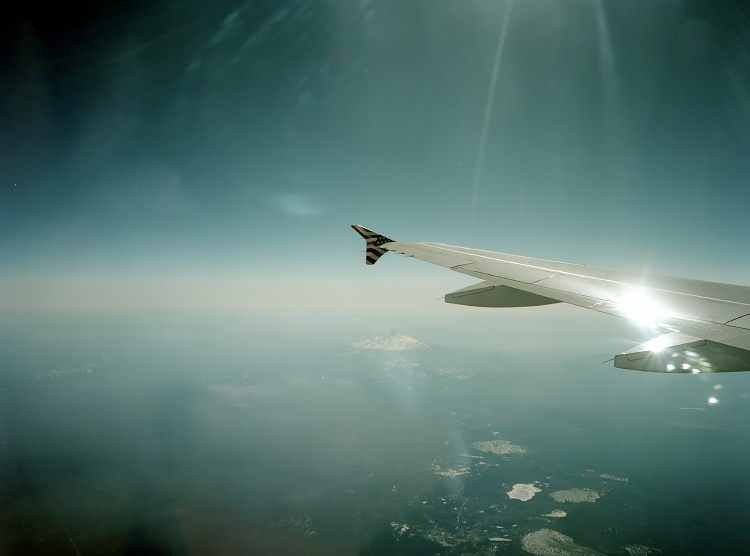
We met up Friday evening after everyone got off work, loaded up the camper, and headed on our way. It was a pretty smooth ride until we hit the inclines on Highway 14 where our humongous camper van struggled to maintain a 30mph pace. We ended up having to pull over on the side of the freeway to let the transmission cool down before continuing on. 

The great thing about being in a camper van is that any parking area can be home for the meantime. Our parking area at this time, just happened to be on the side of a busy freeway so after waiting a little bit we decided to push on towards our destination.

We eventually made it in probably double the amount of time it would have taken us to get there had we driven our normal cars, but having the comfort of the RV was an awesome experience since most of us had never been in one before. 

Before embarking on our trip I had recently acquired a Lensbaby Twist 60, and thought it would be the perfect time to run it through its paces.

A little bit about this unique lens is that it is a 60mm f/2.5 and has some of the swirliest bokeh I have ever seen. It's a fully manual lens with an aperture range from f/2.5 to f/22 and comes in Nikon, Canon, and Sony mount options. 

The overall construction of the lens feels great with its metal body and overall I have confidence that the lens will last a while. I wouldn't say it is constructed as well as the pro lenses that I've used, but it has a better quality and feel than a toy lens would. 

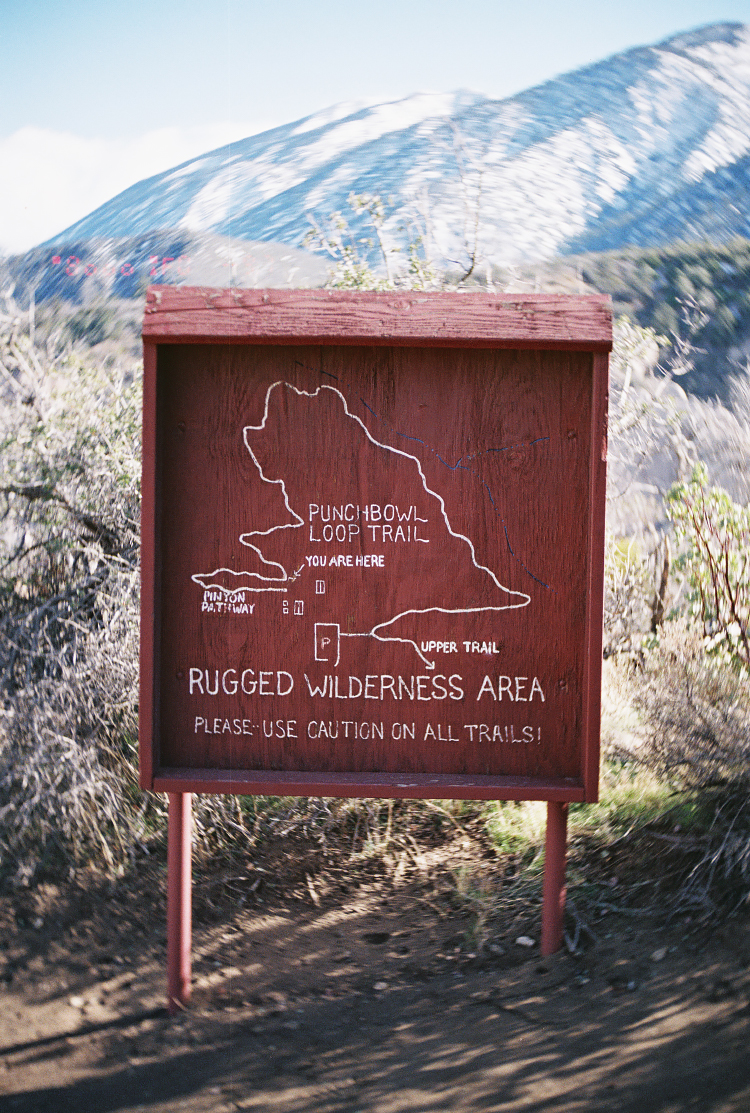
The morning after we arrived, we made coffee and breakfast inside of the RV before heading out to explore the area. It was awesome being in the camper and having a nice, comfortable place to hang out, cook, and eat before starting our hike along the Punchbowl Loop Trail.

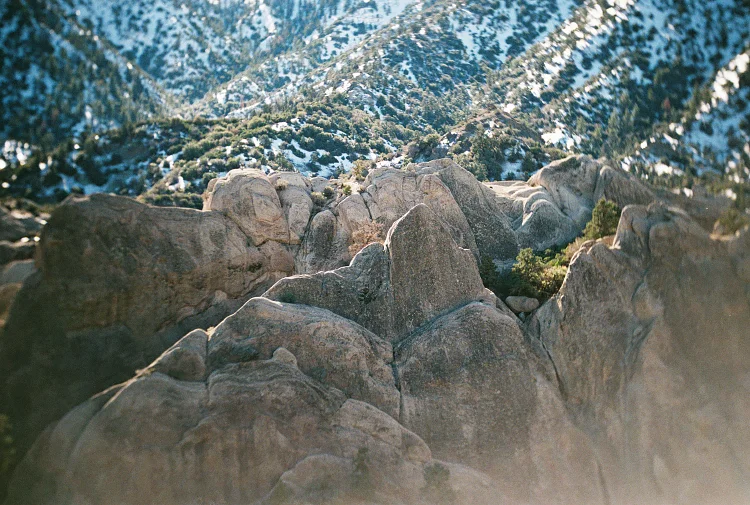
We spent a few hours walking around the area, crossing small streams, and climbing on random rock faces before heading back to the RV to just relax. I had a great time shooting with the Twist 60 throughout the day, but could definitely see it being used more for portrait work than travel/landscape in my opinion. The lens characteristics remind me of the (more expensive) Petzval lenses because of their amazing trademark swirly bokeh. This lens was absolutely meant to be shot wide open and draw your eye in to the center of the frame. It's really a fun lens and it changes the way you think and frame while shooting it.

Towards the end of the day a storm began rolling in so after having dinner in the camper (spaghetti bolognese!) we decided to get ourselves a little closer home so we can cut down on the driving the next day. We stopped in a town with a Walmart and asked them if we could park overnight there. After we parked we realized that our grey water tank was overflowing and the water was backing up into the sink (not cool). We headed out to a local dump station and figured out how to dump the grey and black water from the RV before spending the night playing games and hanging out at the Walmart parking lot. 

Unfortunately, that's pretty much where this story ends. By the morning, the weather was in full on storm mode so we packed up and headed back home. I definitely wish we had better conditions for the weekend, but it was still a lot of fun hanging out in the RV with everyone and getting out into nature to shoot some photos!

Getting Through Airport Security with Film

One of the most common questions that people ask me is "What do you do about x-rays at the airport when traveling with film?" I actually have a few different thoughts on this based on different situations and personal experiences. 

First, we'll start with recommendations from Kodak directly. You can find all of this information here, but the gist of it is:

  • Always carry your film onto the plane and never put your film in your checked luggage.
  • Ask for a hand check at security if you have high ISO film, cinema film, or if you will be going through multiple x-rays with the same batch of film.
  • Be patient because it will take you longer to go through security than normal.

Within the US, the Transportation Security Administration (TSA) will physically inspect your film by hand if you request them to do so. They will often have you submit your film to a swab test in order to bypass the x-ray machine. I have never been denied a hand check for my film within the US, but I have been denied by the TSA on the Canadian side while flying back into the US from Calgary. This was not Canadian airport security, this was US border patrol and TSA operating at this terminal and despite my request they have been the only agents to deny my hand check within the states. 

Traveling internationally is a completely different story. I have been denied in multiple airports while traveling abroad and it has happened so often that (for the most part) I have stopped even trying to ask for hand checks while I am out of the country. So far I've been pretty lucky and haven't had a single roll ruined by x-ray damage!

For my regular film I usually place the loose rolls into a large, clear ziploc bag, but I do take some preventative measures when traveling abroad with high speed film (over ISO 800) by using a Domke Filmguard Bag. There has been a ton of debate on whether or not these bags are effective and the bottom line is I haven't found any conclusive evidence to say they aren't and I've yet to have any issues while using it so I'll continue to use it until something happens. Some people say that the x-ray operator will increase the power of the x-ray until they can see through the bag and some people say that even if they increase the x-ray power, the bag will still protect the film somewhat. 

One thing I should note is that I do try to position the Domke bag inside of my carry-on luggage in a way that it won't obstruct the view of the operator. That means, I'll put it on the side of the bag that is facing the opening of the x-ray machine because I know that they aren't looking THROUGH my luggage and the film bag from that direction. If they can see through my luggage from the top and the sides, then a lot of the time they just let my luggage pass through. I find that most of the smaller airports don't even seem to care if I have a film bag in there, but there is one airport outside of the US that consistently will see my film bag and have me remove it from my luggage and that is Narita airport in Japan.

If you're curious as to just how many x-rays I've let my film pass through with this method before developing them, you can find some loose itineraries listed below:

  • Los Angeles, USA → Reykjavik, Iceland → London → Madrid, Spain → Marrakech, Morocco → Barcelona, Spain → Geneva, Switzerland → Venice, Italy → Istanbul, Turkey → Los Angeles, USA

  • Los Angeles, USA → Tokyo, Japan → Singapore → Bangkok, Thailand → Hanoi, Vietnam → Singapore → Denpasar, Indonesia → Singapore → Tokyo, Japan → Los Angeles, USA

  • Los Angeles, USA → Toronto, Canada → Copenhagen, Denmark → Bergen, Norway → Stockholm, Sweden → Copenhagen, Denmark → Toronto, Canada → Los Angeles, USA

If you would like to see for yourself if there has been any x-ray damage, then just head over to the photo blog portion of this site and find any photos taken at just about any of these locations.